

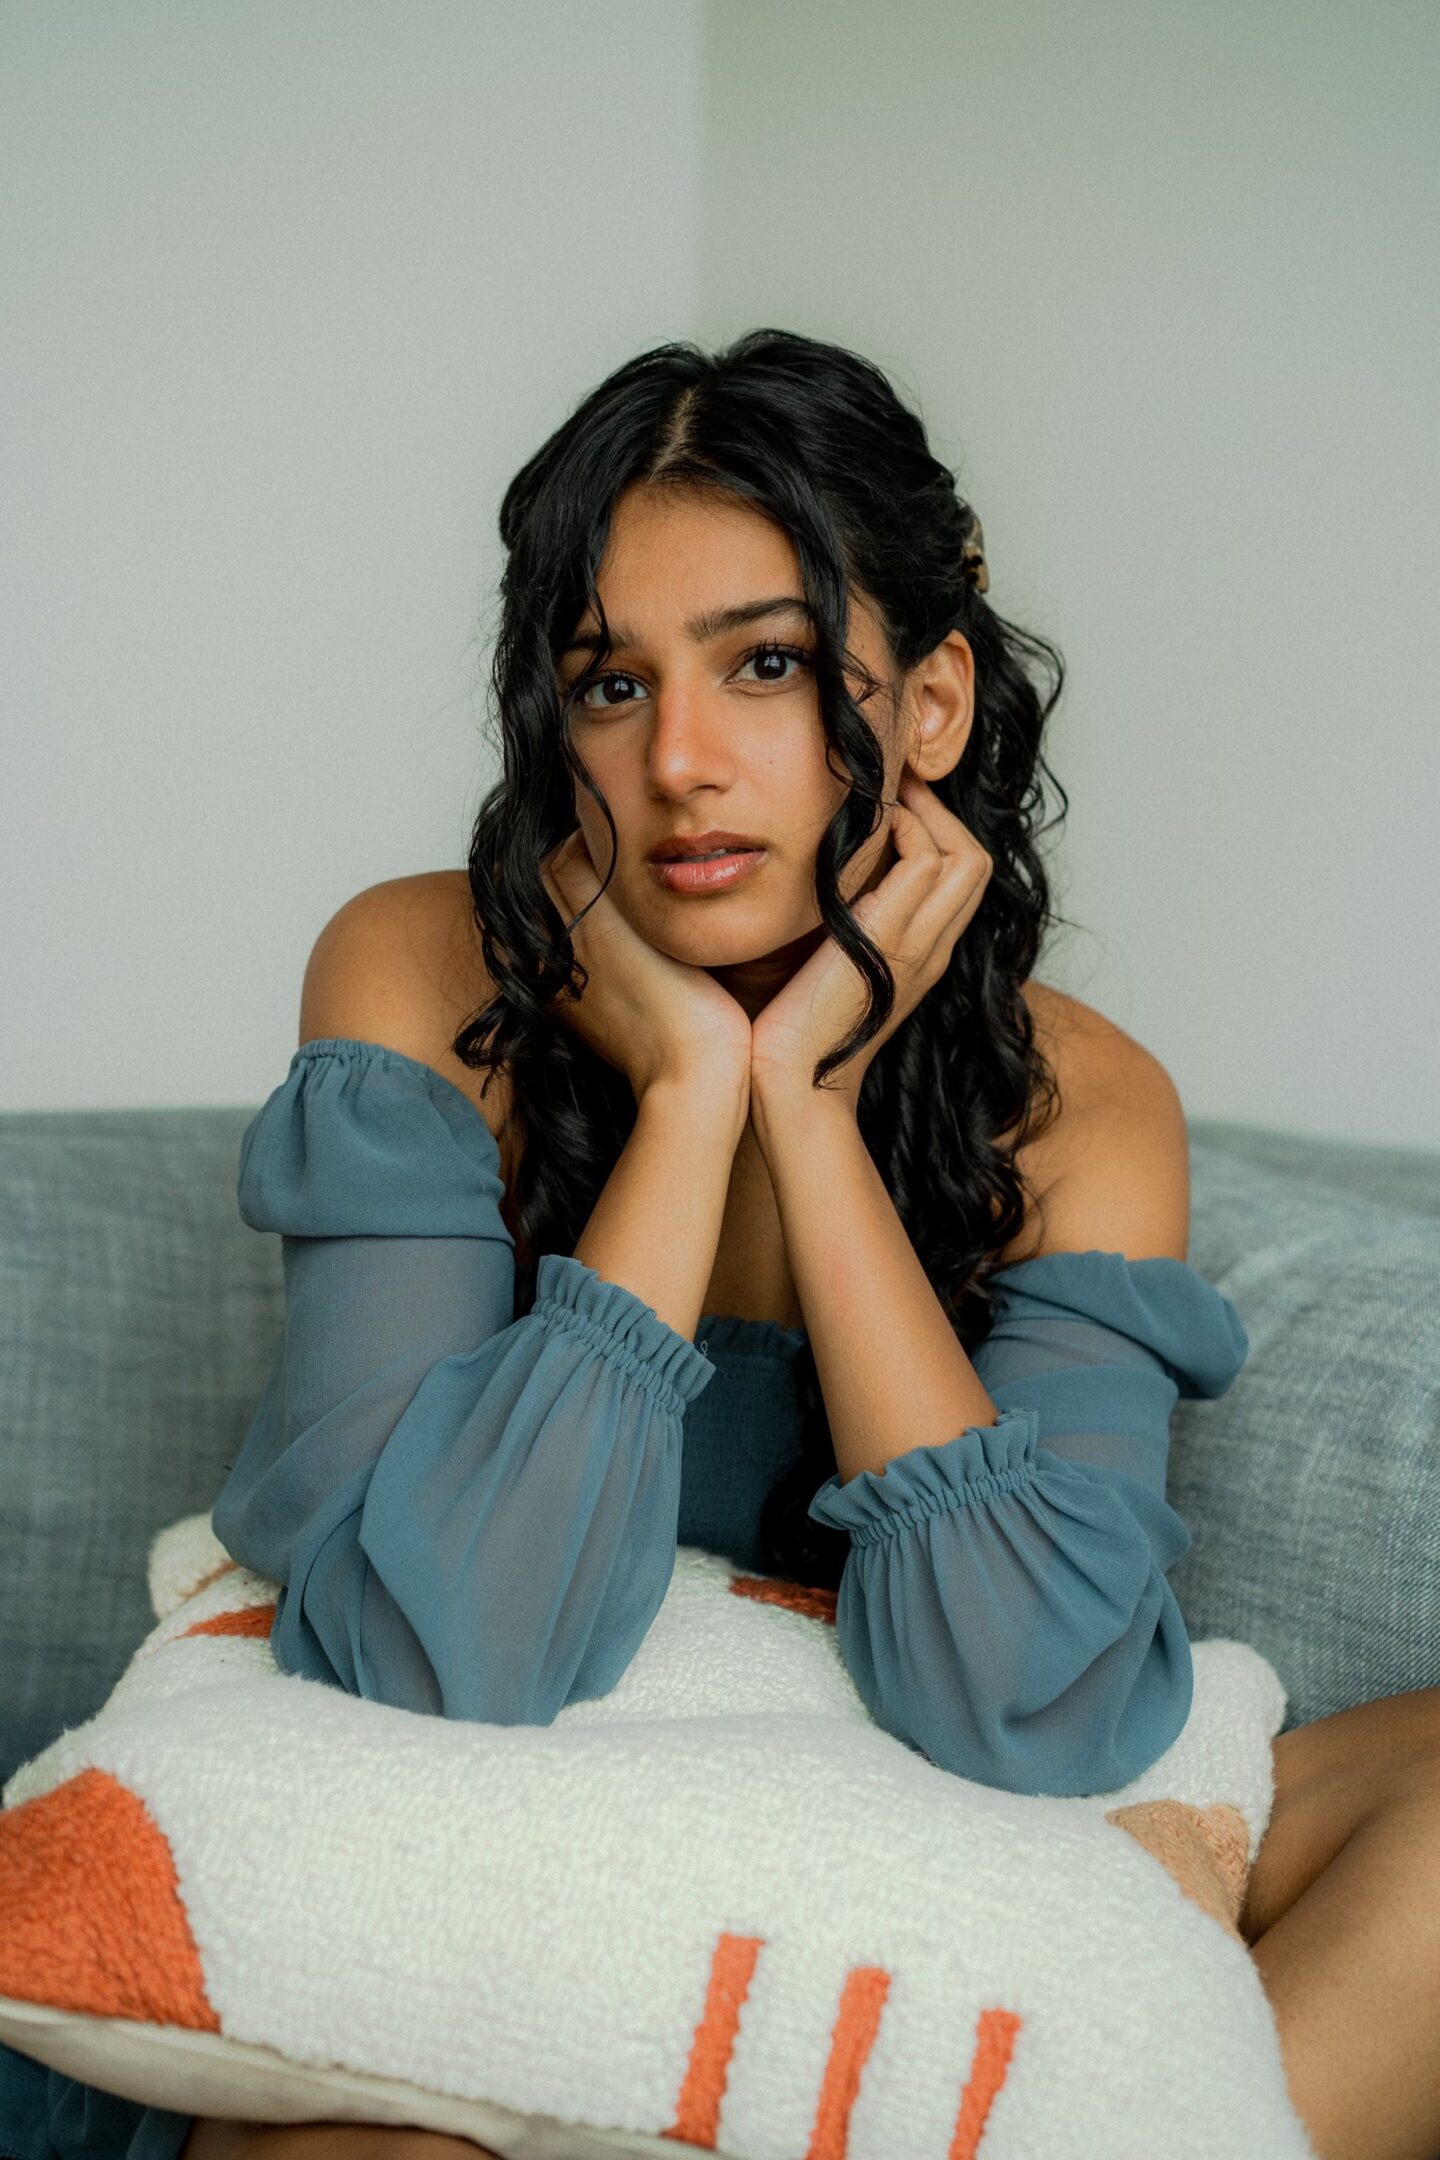
Introduction
I’m so happy to finally share my curly hair routine. It took me a while to get here because for a long time I was transitioning my hair from slightly damaged back to my natural healthy hair pattern. Transitioning hair has different needs, usually requiring more moisture and some experimentation, which is why I waited until my hair I was fully healthy and on a regular routine to share. I was also nervous to share after seeing the backlash from recent alleged formula changes from a major haircare brand, where some of their curly-hair products were said to be causing side effects including hair loss – so I wanted to make sure the products I used would not do the same.
As always, I would like to disclaim that I am not a dermatologist or medical professional. If you have any existing skin and scalp conditions, or experience any adverse reactions from changing your routine, please check in with a medical professional.
Before we get started, I want to acknowledge that the “curly girl method” I follow is derived from the knowledge of of Black women. It’s the continuous labor and knowledge of Black women and the whole black community who have taught non-Black POC and white people how to care for their curly hair. In the last decade or so, curly hair that was naturally textured hasn’t been the trend or what was culturally accepted. It’s important to acknowledge and support the Black-community who have paved the way in this space. I do so by shopping from Black owned hair care brands whenever I can, and giving back to the community via mutual aid funds or grassroots org donations. As you’ll see, my routine has many products from Black-owned brands, and for some of the products that aren’t, I’ve provided alternatives from Black-owned brands.
I hope you enjoy this blog post. It has been such a great experience for me to embrace my curl pattern with healthy hair. If you are starting the journey, I recommend taking photos often and documenting the journey. You’ll see how your hair changes and feel motivated to keep going!
Step one: Oil
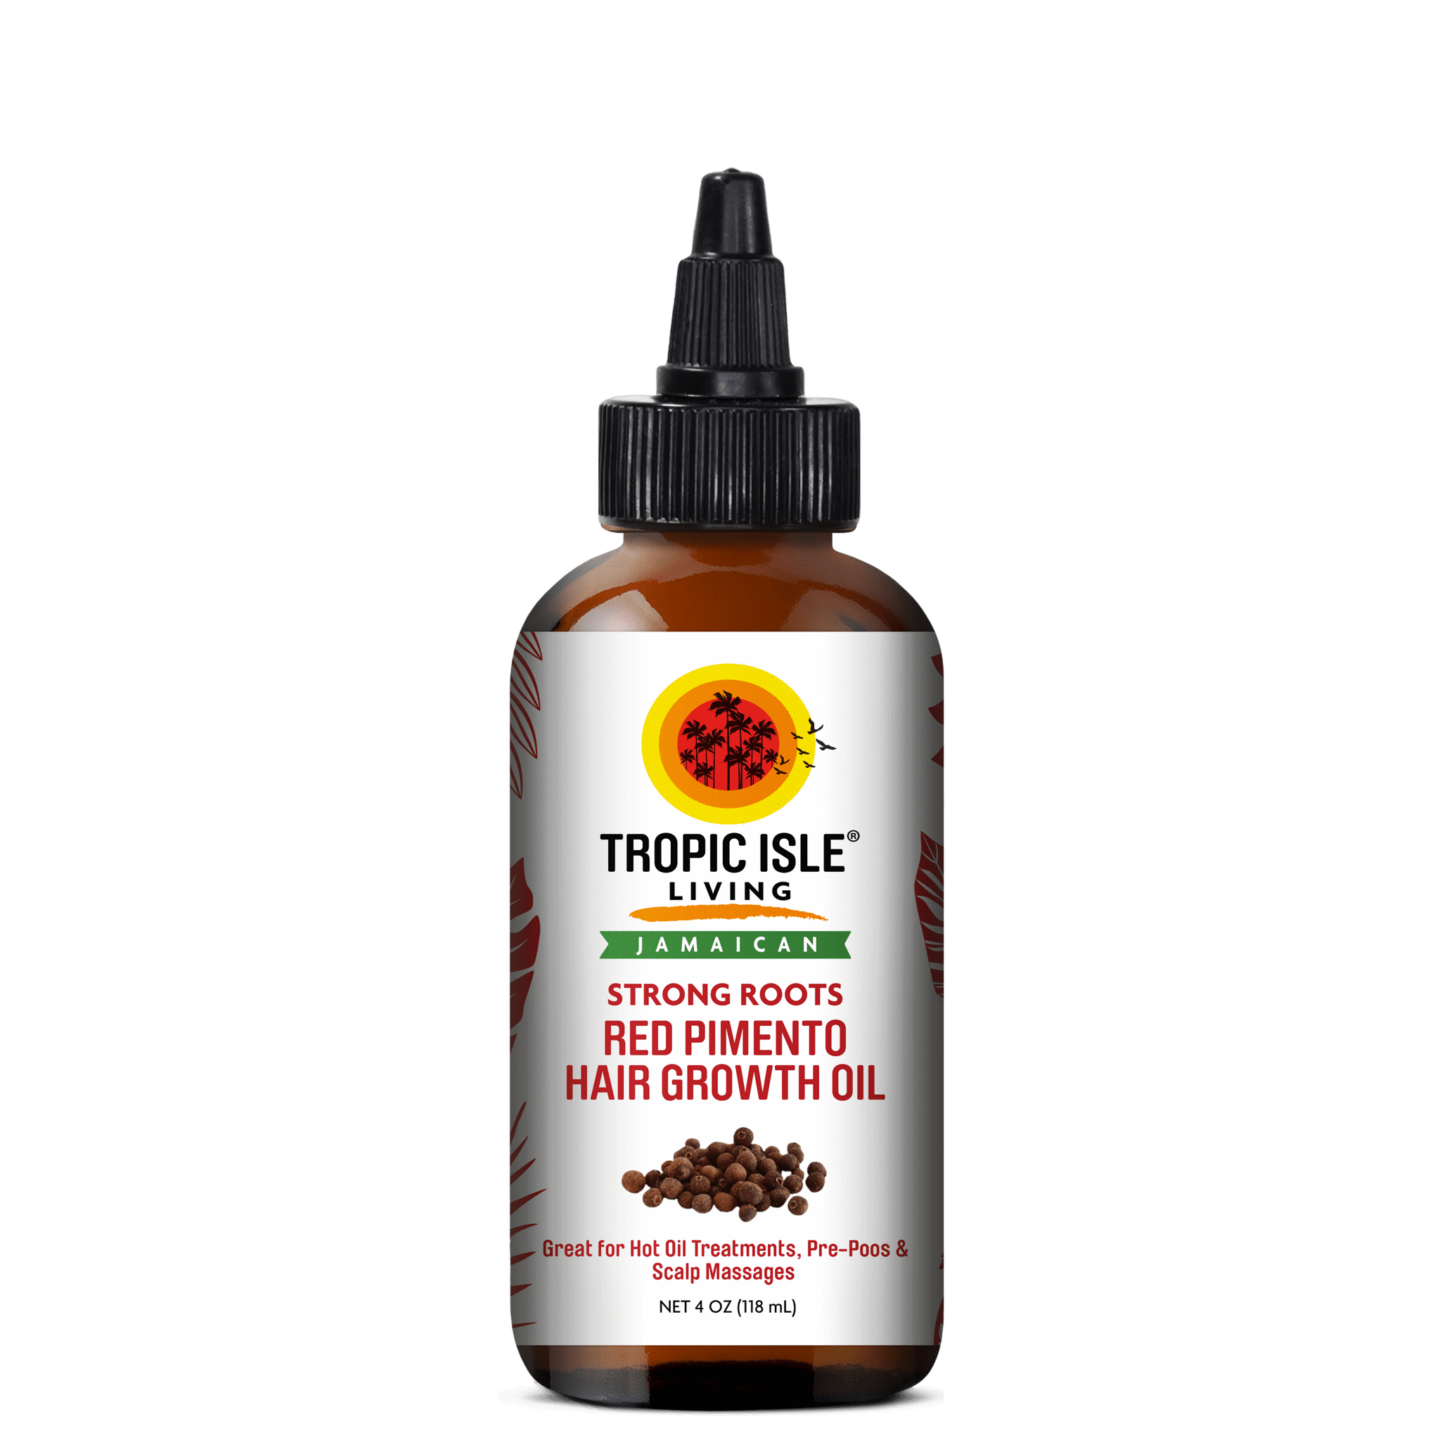
The first thing I do is oil my scalp 10 minutes before I hop in the shower. Sometimes, if my scalp needs it, I’ll leave it in longer or even overnight. But if all is well and normal, 10 minutes is perfect. I use the Red Pimento Oil by Tropic Isle Living, which has castor oil to help increase hair growth – it’s been a real game-changer for me! This brand is also Black-owned.
I actually wrote a full in-depth blog specific to oiling my scalp, if you’re interested you can read it here. But to summarize, this step helps to keep my scalp protected and moisturized by preventing my natural oils from getting completely stripped during shampooing, which prevents flaking and helps manage my scalp’s oil production long term. The massage itself also helps with hair growth by encouraging healthy blood flow.
You can purchase the Red Pimento Oil here.
Step two: Conditioner
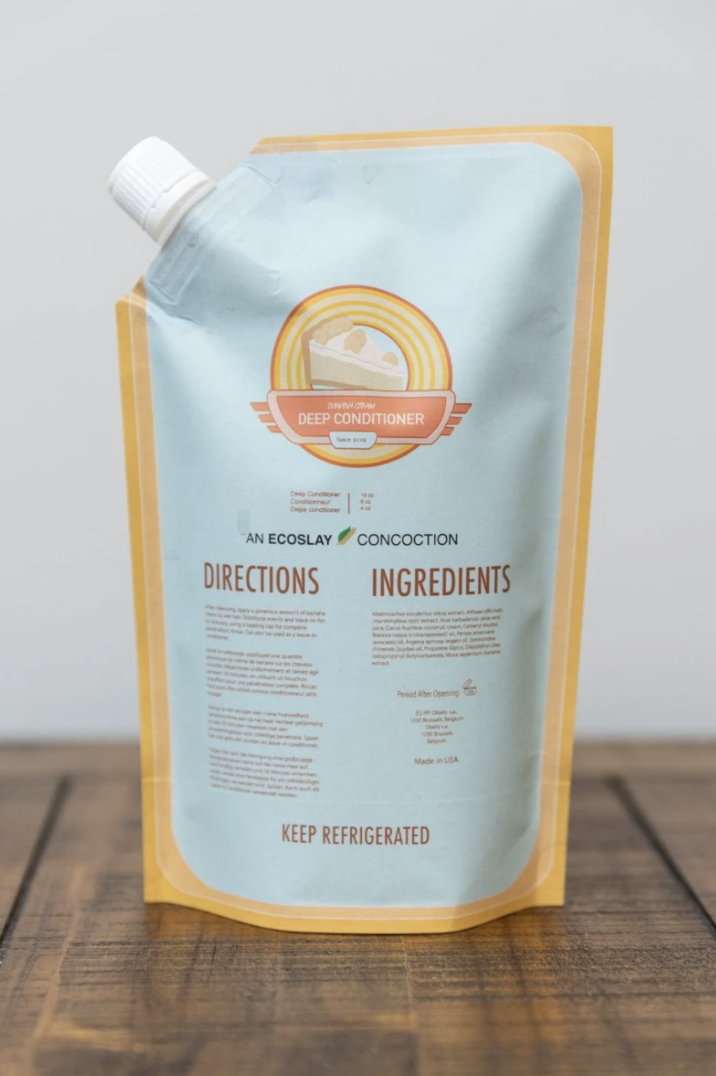
I do my hair routine a bit backwards by some standards. Right when I get in the shower, I use a deep conditioner. I apply it to the entire length of my hair, avoiding the roots. Then I’ll tie my hair up in a little bun and leave it in for 10 minutes while I do my body routine. The conditioner I use is by Black-owned brand Ecoslay and it’s called Banana Cream Deep Conditioner. I love it, a little goes a long way and I can use it for conditioner, deep conditioner and leave-in conditioner. It’s also a sustainable brand, the products are made in one of the founders’ kitchen. The only inconvenience is that since there are no preservatives, it has to be stored in the fridge. I think it’s worth it for how safe the ingredients are, and I’ve gotten used to going to my fridge for my products. If I travel, I’ll put a bit in a small container and it’s completely fine for the duration of my trip.
You can purchase the Banana Cream Deep Conditioner here.
Step three: Shampoo
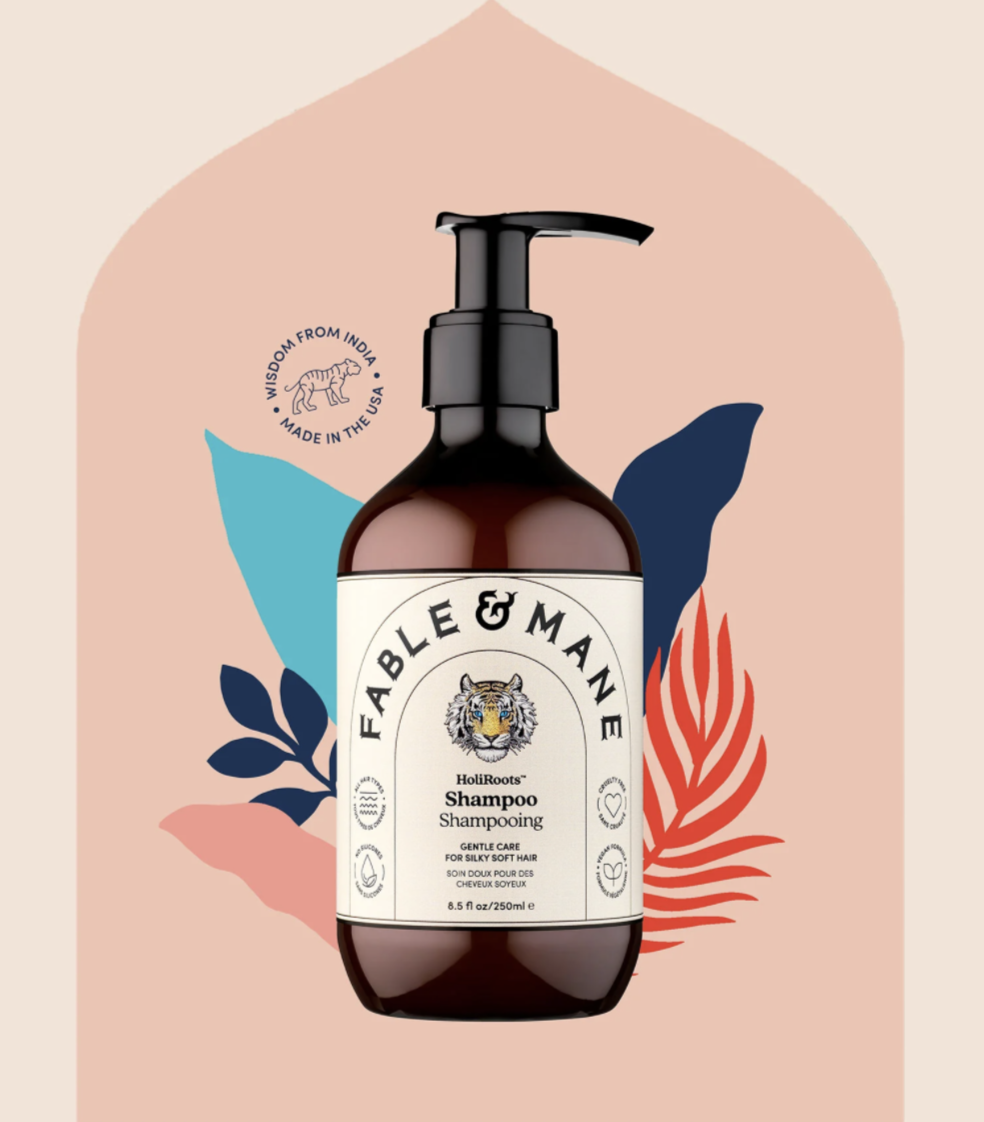

After conditioning, I’ll shampoo my hair using the HoliRoots Hydrating Shampoo by South-Asian-owned brand Fable and Mane. I received it as a gift and I am beyond impressed. It does a great job removing the dirt and oil from my hair, and lathers really nicely using my silicone brush from Sky Organics.The brush is great because it gives you a nice scalp massage without stretching or snagging your hair, which tends to happen if you’re like me and wear many rings 24/7.
You can purchase the HoliRoots Hydrating Shampoo here, the matching HoliRoots Conditioner here, and a silicone brush here!
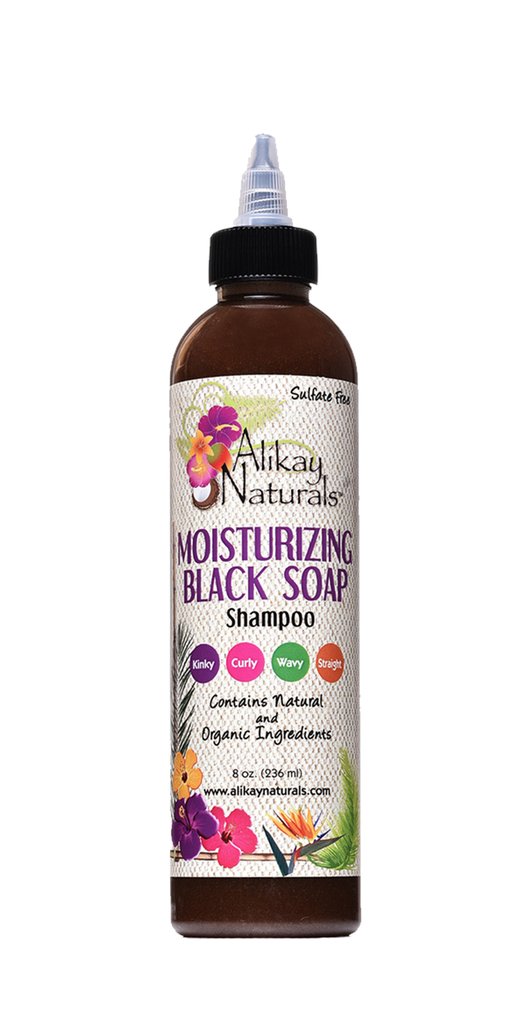
A more affordable alternative for shampoo is the Moisturizing Black Soap by Black-owned brand AliKay Naturals. It’s only $12 for an 8-ounce bottle. I sometimes have to shampoo twice to remove the oil, but that’s a fair tradeoff because it is a gentle, natural product without any sulfates. The nozzle-tip applicator is amazing for getting shampoo right to my roots!
You can get the Moisturizing Black Soap shampoo here.
Step four: Conditioner (Again)
At the end of my shower, I’ll separate my hair into two sections: front and back, sometimes even tying up the front to keep it out of my face and leave the back down. While it’s still wet, I’ll apply a bit of the Ecoslay Banana Cream Deep Conditioner (from step two) to the back sections of my hair – and use it as a leave in. It makes my hair super silky. I find the back of my hair requires a bit more moisture so this really helps, while the front of my hair doesn’t get weighed down with the leave-in.
Step five: Denman Brushing
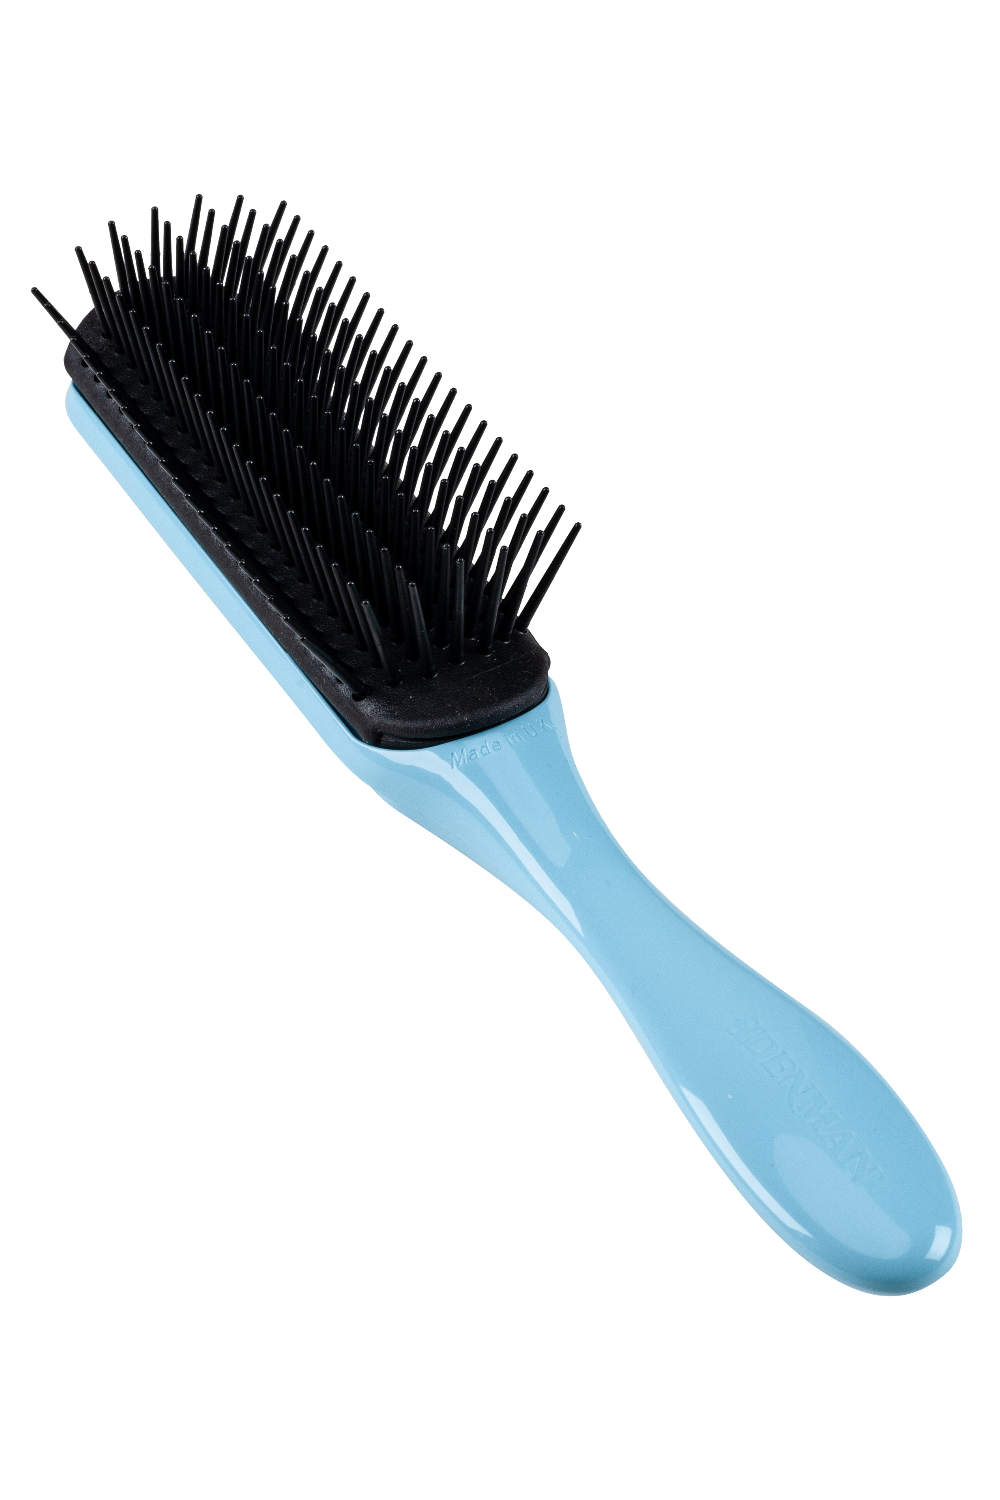
My friend so kindly got me a Denman brush and I was really excited to try what is now a staple in my curly hair routine. It works the same way as scissors do to curl a ribbon. It’s faster than finger curling and scrunching, and it keeps my curls “organized” by twisting the hair in the direction it naturally curls. I have the Denman Brush Original Styler 7 Row.
You can buy the Denman Brush Original Styler 7 Row brush here.
Step six: Gel
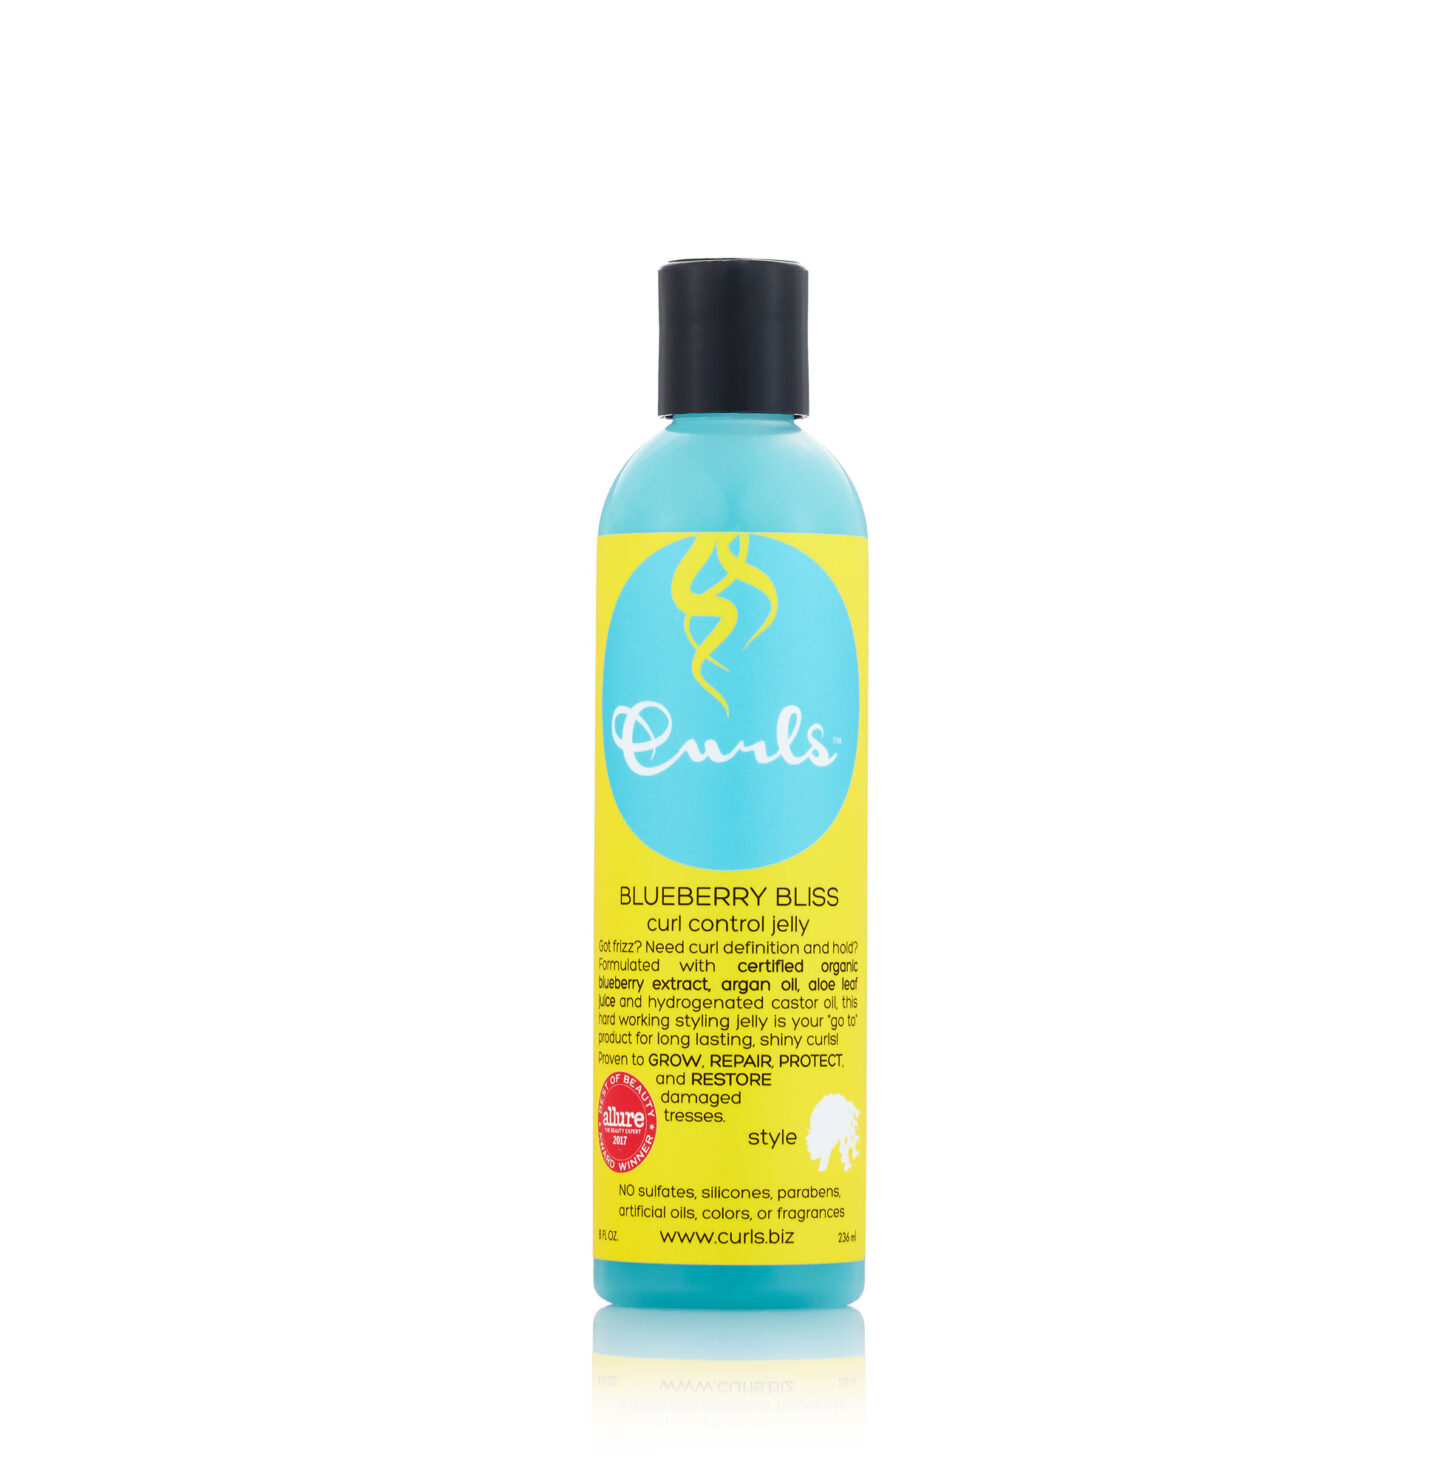
The next step I do is apply my first layer of gel, the Blueberry Bliss Curl Control Jelly by Black-owned brand Curls. I take a quarter-sized amount, rub it between my palms and then squish and scrunch it into my hair, working my way around my head.
I actually picked it up by accident as an emergency and was pleasantly surprised. It gives my curls a nice soft hold and keeps my definition pretty. But by day four or five my curls fall out, which is why this is only my first layer of gel.
You can purchase the Blueberry Bliss gel here.
Step seven: More Gel
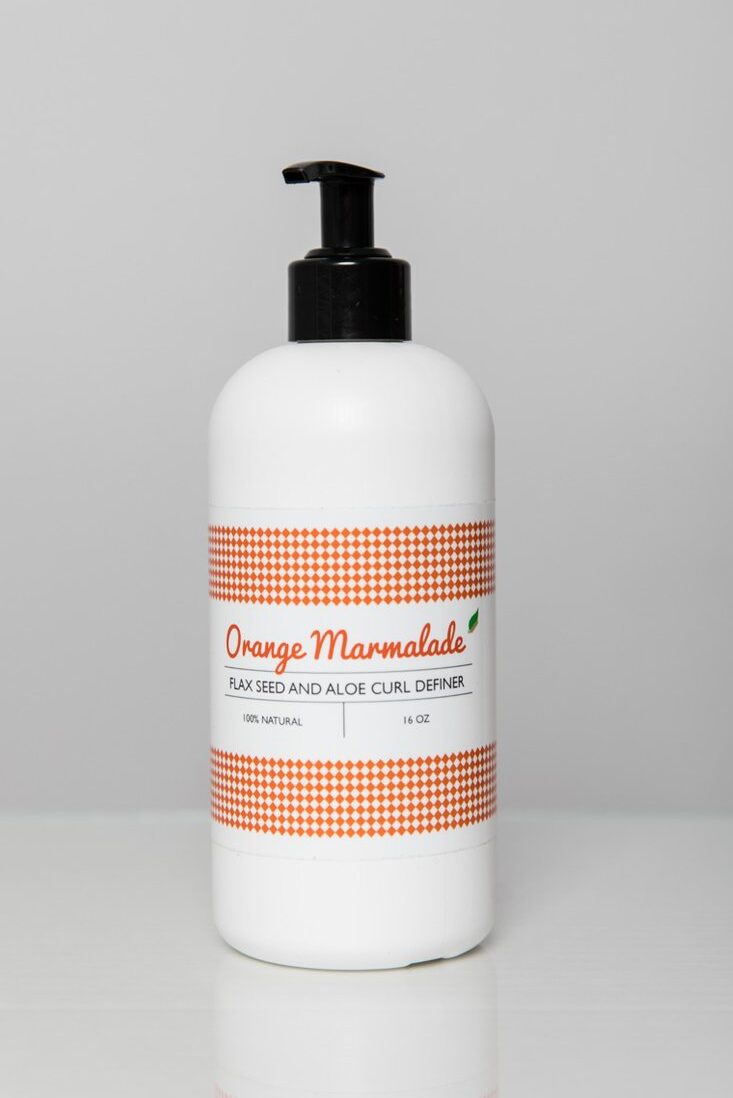
This second layer of gel is Ecoslay’s Orange Marmalade Gel and it’s my firmer-hold gel. It’s super natural, made out of flaxseed and like the Banana Cream Conditioner (from step 2), it needs to be stored in the fridge. The hold is super firm and gives your hair that crunchy gel look when it first dries, but it’s easy to release afterwards.
I really like the combination of the two, and honestly, I think it’s necessary. This gel on its own is too bendy, and by that, I mean that if you were to lay on your curls, they would bend into that shape. The two gels combined provide long lasting curls without the super bendiness.
You can buy the Ecoslay Marmalade Gel here.
Step eight: Plop
This step is what I call the “plop”. What I do is I lay my microfiber towel down flat, then I “plop” my hair down onto the towel and I wrap my towel around the curls. I leave the towel on for 10-15 minutes to absorb some of the moisture and let the gel set. I then do my other post shower stuff while it’s in the plop.
You can buy the microfiber towels I use here.
Step nine: Diffuse
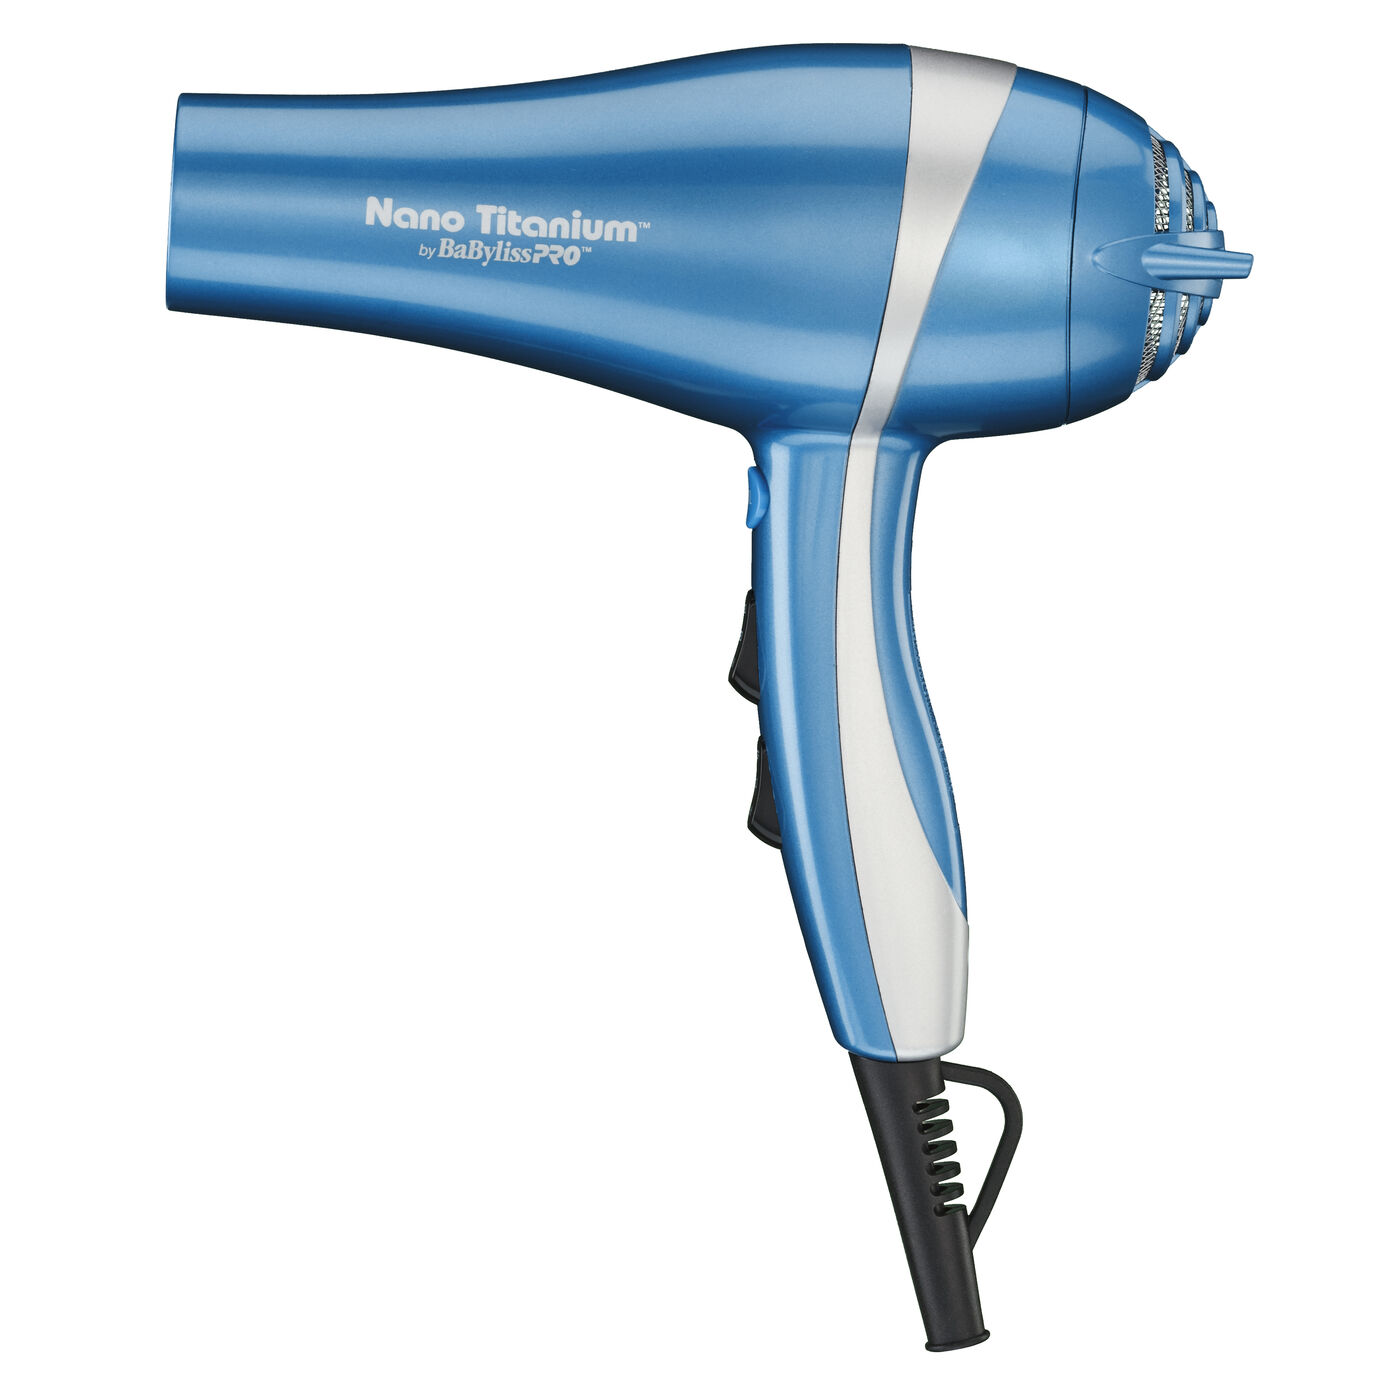
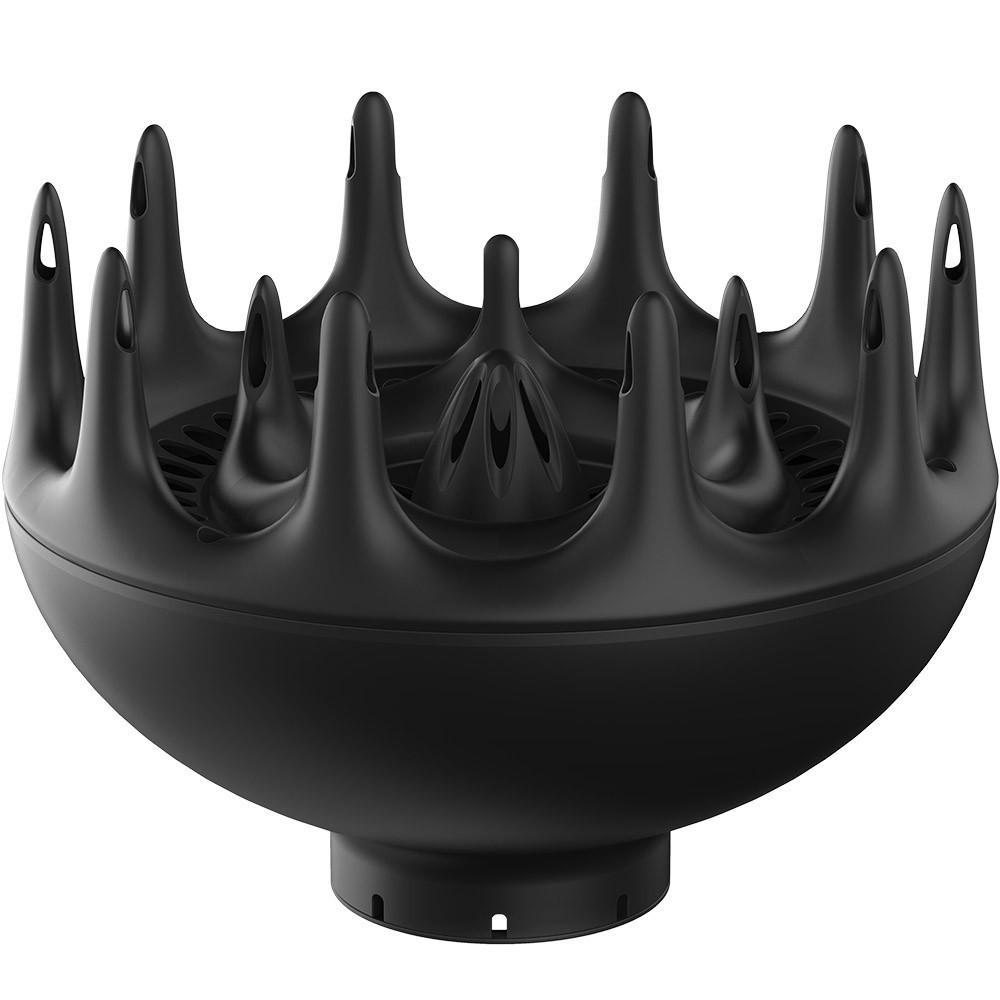
Diffusing is an optional step, but an important one in my routine. I used to use the BaByliss PRO black hair dryer, and I recently switched to the titanium blue one when my black one died after an impressive 7 years of use. With the dryer, I use the Xtava Black Orchid Diffuser, which fits perfectly on the black dryer but is a bit of a struggle on the titanium one.
I like to diffuse on no heat to set the gel. If I want my curls to look extra bouncy I’ll diffuse my hair to 80% dry, but most days I just diffuse it to set before it air dries. I start at the roots, tilting my head from side to side. Once the roots are set, I’ll go on low power and hover diffuse around my whole head. Then I’ll pixie diffuse, which is where I turn off the hair dryer, gather a smaller section and pile it into the diffuser. I then push it up against my head, turn on the diffuser, and then turn it off again before I let it go. This prevents the hair from blowing around and frizzing. It usually takes me 15-20 minutes to diffuse my hair to set the gel and let it air dry, and 40-45 minutes to diffuse my hair to 80% dry.
You can buy my old hair dryer here. The Xtava diffuser used to fit perfectly on this one, but just in case the dimensions of the dryer have changed, I would check that your retailer has a reasonable return policy. You can get my current hair dryer here. I have to force the diffuser onto it a little, but it’s still a great dryer. You can get the Xtava diffuser here!
Step ten: Air dry
I have low porosity hair, which means once it’s wet, it takes a long time to dry – so the next step is to wait it out. When using a gel that leaves a gel-cast, it’s important to allow it to dry completely before scrunching out the crunch. Since I don’t wash my hair often, it’s a manageable time commitment.
Step eleven: Scrunch Out the crunch
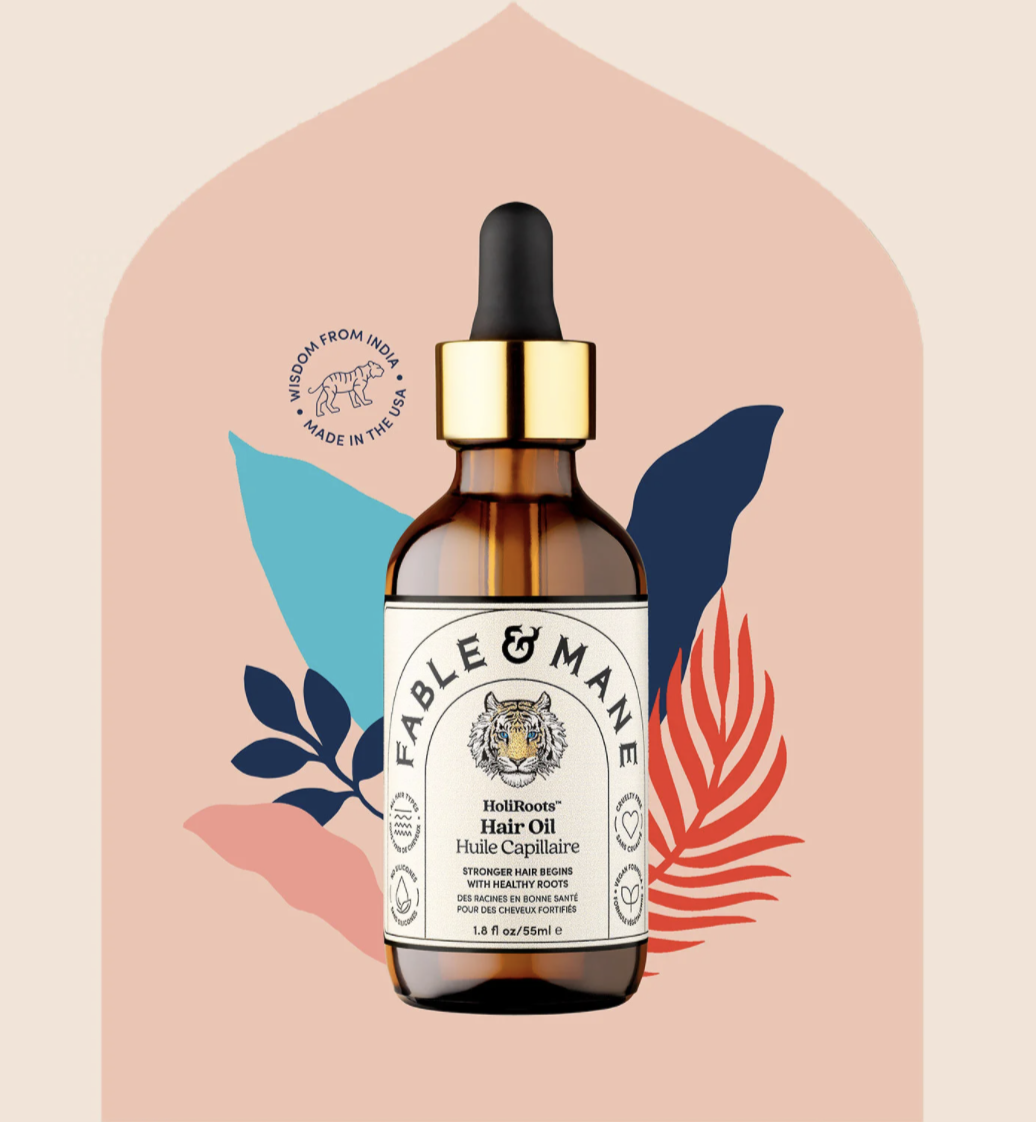
And the final step is scrunching out that crunch! I take two drops of the Fable and Mane HoliRoots Hair Oil (gifted). It smells really good and is super light-weight. Argan or jojoba oil works well too. I take a small amount and rub it between my palms so there’s a thin layer of oil, then I scrunch my hair and I can feel the gel starting to break up while still maintaining definition. If I want to separate any curls, I’ll take a drop of oil and separate it starting at the root and twist my hair in the direction it’s supposed to go. I’ll usually separate a bunch of clumps so it’s not a hair “tornado” (what I call it) where all the hair clumps together.
I also use a root fluffer that my mom got me, I use mine with my hair upside down to lift any gel that got stuck to my hair off of my roots. It also gives me nice volume.
You can purchase the HoliRoots Hair Oil here.
Extra Step: Clarifying
Clarifying is not a part of my regular routine, but is a special wash day with a sulfate-containing shampoo to remove any buildup from my scalp and strands so that my hair has more volume, is less weighed down, and is less greasy. Clarifying every 3-4 weeks works well for my hair type and texture, but this timeframe can vary from person to person based on a number of other factors, including water hardness, stylers used, wash frequency, and hair porosity.
In the past, I’ve had a few different shampoos that have worked for me. Anything with sulfates but is otherwise Curly Girl Method approved (i.e. no harsh alcohols or silicones) is ok! Sulfonates, which are sulfate alternatives found in products like Kinky Curly’s Come Clean shampoo, are not usually strong enough for me – but they may work well for people who are on a “no poo” routine. As long as the shampoo is stronger than your usual to remove buildup, you really can use anything – I’ve even used body wash when in a pinch, although I don’t recommend this.
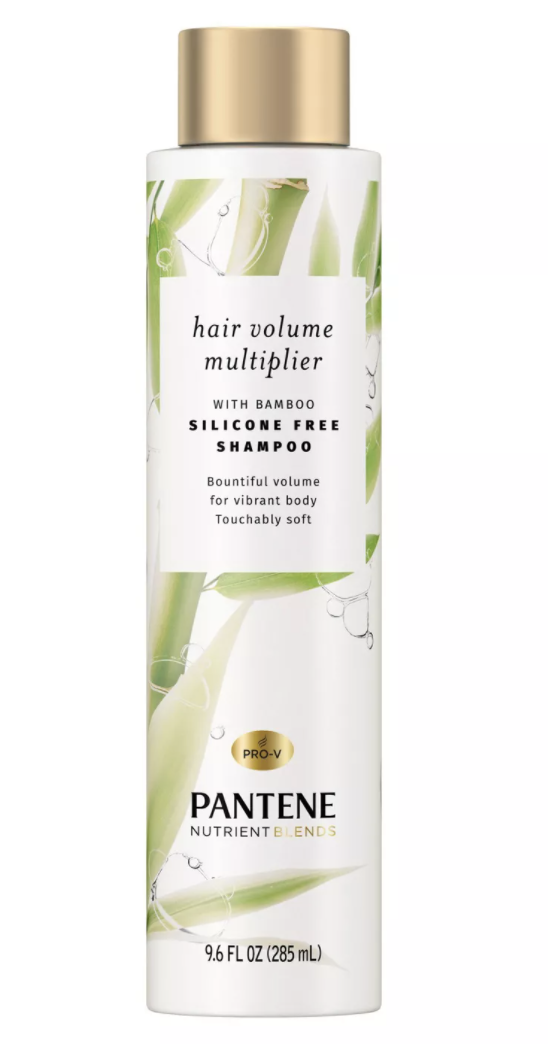
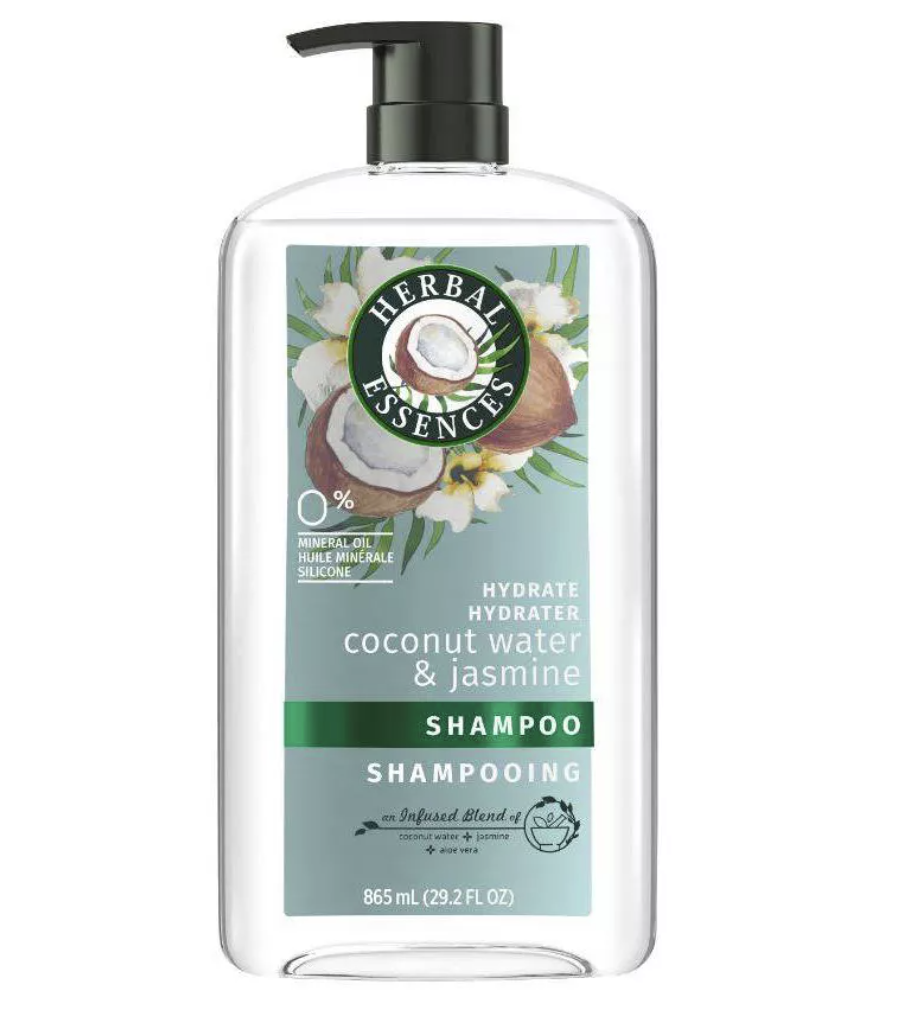
Two affordable clarifying shampoos that I’ve used in the past year and a half and recommend are Pantene Nutrient Blends and Herbal Essences Classics Hydration. Neither of these gave me that tight dry feeling on my scalp I worry about when clarifying, and effectively hit the reset button on my strands to give me volume and shine.
Thank you so much for being patient while I did my research for what worked for my curly hair routine. I hope you enjoyed this routine! Let me know if you have any questions in the comments below. And let me know what your go-to products are for your hair routines, curly hair or not, I would love to hear.
Some of the links above are affiliate links, which means that if you choose to click the link and make a purchase, I might make a small commission. This does not cost you anything, nor does affiliate eligibility ever influence what products I choose to write about. For more information on affiliate programs, please see the Affiliate Disclosure.
Y’all. This routine is so worth a try. Your hair looks so incredible, Anjali!! So excited to make this regimen my norm :))
Author
Thank you so much! I hope it works out for your hair type too ❤️
I’ve been trying this routine and I’m really noticing a difference! I come from South-east Asia so a lot of the products in your regimen had to be swapped with local drugstore ones for mine, but I followed the steps thoroughly and have noticed such a massive difference to my curls and especially in how long it lasts! You’re a lifesaver xo
Author
I’m so happy you were able to find good swaps for some of these products, and I love that this routine has been working for you! Thanks for the comment, sending my love ?